Surviving Summer: Keeping an Arizona Garden Alive in Peak Heat
Arizona summer can leave a garden looking exhausted even when you are watering and tending it regularly. The challenge is deciding what needs help now, what is better left dormant or removed, and what can wait for gentler conditions. This guide covers practical ways to protect roots, manage water and shade, and plan a garden around Arizona’s seasonal heat.
Understand the heat your garden is facing
Arizona summer is not one uniform growing environment. Elevation, exposure, reflected heat, air movement, and the material surrounding a bed all affect how quickly plants lose moisture and how much heat they absorb. A garden in a high-elevation town can face different growing conditions from a low-desert yard, while two beds in the same yard can behave differently if one is next to a sunlit wall or paved surface.
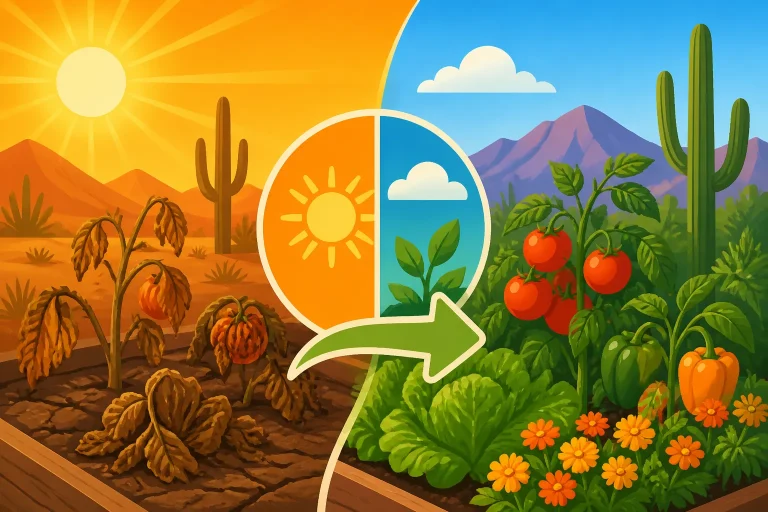
University of Arizona Cooperative Extension identifies high temperatures, both day and night for extended periods of time, low humidity, and the high solar intensity as conditions that can stress plants. These factors can work together: hot air and intense sun increase demand on foliage, while warm soil can make roots work harder to take up water. A plant may struggle even when the soil is not completely dry.
Start by noticing where and when your garden shows stress. Look at the whole plant, not just a wilted leaf at midday. If foliage droops during the hottest part of the day but firms up later, that is useful information, but it does not prove that the plant has enough water. Check soil moisture near the root zone before adding more. If the root area is already moist, extra irrigation may not solve the problem and can leave roots in poorly aerated soil.
Observe these features over several days:
- Sun exposure: Note which beds get direct afternoon sun and which receive shade from a building, tree, or other structure.
- Reflected heat: Walls, paving, gravel, and other nearby surfaces can send additional heat toward plants. A plant that tolerates an open bed may struggle beside a hot wall.
- Air movement: A breezy spot can dry foliage and soil faster. A sheltered spot may hold heat or humidity differently.
- Soil condition: Check whether water reaches the root zone or runs off, pools, or passes through too quickly.
- Plant response: Look for persistent wilting, scorched edges, faded color, flower drop, or new growth that fails to develop.
- Irrigation coverage: Confirm that each plant is actually receiving water. A working timer or valve does not guarantee that an emitter is clear or positioned where roots can use the water.
A useful first step is to separate environmental stress from other problems. Heat injury often appears across exposed parts of a plant or becomes worse during hot spells. Pest feeding or disease may produce more localized patterns, distinctive marks, or damage that continues despite a change in sun and watering conditions. When the cause is unclear, compare symptoms across the bed and inspect leaf undersides, stems, and the soil surface. For a broader troubleshooting approach, see Diagnosing Pest and Weather Damage on Arizona Vegetables.
Then consider the plant’s season. Some crops are suited to cooler conditions and may naturally decline during peak heat. Others may keep growing but stop flowering or setting fruit when conditions are harsh. The answer is not always to push every plant through summer. Deciding what to protect and what to let go can save water, time, and room for a more suitable next planting.
Decide what to keep, pause, or replace
A summer garden does not have to stay full to be successful. Keeping a few healthy plants going may be a better plan than trying to maintain every crop in a bed that is under severe stress. Before pruning heavily, applying a product, or increasing irrigation, decide what you want from each plant.
For each crop, ask:
- Is it still producing useful food, flowers, or shade?
- Does it look stressed because the soil is dry, or is it receiving adequate moisture already?
- Is the damage limited to exposed leaves, or is the whole plant declining?
- Can you protect it without creating more work than the harvest is worth?
- Would clearing it make room for a crop that fits the next planting window?
Plants that are still growing may benefit from better irrigation coverage, root-zone mulch, or protection from harsh afternoon exposure. Plants that have stopped producing and are deteriorating may be better removed. If you leave failing plants in place, inspect them for pests and disease before using them as support or covering nearby crops.
Taking a break from sowing is also a reasonable choice. Seeds and seedlings are vulnerable when the bed dries quickly or the surface becomes very hot. Planting simply because a calendar says to plant can lead to weak establishment and wasted seed. Use local conditions, crop needs, and the planting guidance for your region rather than treating a general calendar as a promise. Choosing the Right Arizona Planting Calendar for Your Area and Arizona Elevation Vegetable Guide: Warm and Cool Seasons can help you think through how elevation and season affect crop choices.
Some gardeners use protection to stretch a crop beyond its usual season. University of Arizona Cooperative Extension notes that crops can be grown out of season by providing conditions such as shade, more humidity, artificial heat. In summer, shade is often the most practical of those tools to consider, but it does not make every crop a good candidate for continued production. A protected plant still needs suitable soil moisture, airflow, and care.
There are several sensible summer strategies:
- Maintain selected plants: Keep crops that remain healthy or have a clear chance of recovering with modest changes to their growing conditions.
- Pause sowing: Leave open soil covered and wait for a more favorable planting opportunity rather than asking seedlings to establish under punishing conditions.
- Remove spent crops: Clear plants that are no longer productive or are serving as a source of ongoing pest or disease trouble.
- Use a protected area: Grow a smaller number of crops in a position with more suitable light and less reflected heat.
- Shift effort to preparation: Improve bed access, inspect irrigation, add suitable organic material, or plan the next planting rather than forcing growth now.
A seasonal pause does not mean the garden has failed. In a climate with distinct growing periods, a bed can be active, resting, or transitioning. If summer has already taken a crop, decide whether a late planting can reasonably finish before conditions become unfavorable. The article Did You Miss the Window to Plant Vegetables This Season? offers a useful way to think through that decision without assuming every missed planting can be recovered.
Water the root zone, not just the surface
In hot weather, it is tempting to respond to any drooping plant by watering more often. That can help when the root zone is dry, but it can make matters worse if the soil is already wet or drainage is poor. The goal is to keep moisture available where roots can use it while preserving air spaces in the soil.
Check soil moisture below the surface near the plant, not only at the top of the bed. A dry crust does not tell you whether the root area is dry. In a drip-irrigated bed, check more than one location: moisture can vary between emitters, between rows, and at different depths. The location of the wet area can also change as a plant grows. A young plant and a mature plant do not necessarily draw moisture from the same area.
If the soil is dry near active roots, review the irrigation system before changing the whole schedule. Look for clogged emitters, a kinked line, a loose connection, or a plant that sits outside the wetting pattern. If water is pooling or running off, it may not be soaking into the intended root area. Adjusting the layout or operation may be more useful than simply adding water.
Use a routine that responds to the bed rather than a fixed assumption. Soil texture, sun, wind, plant size, mulch, and container volume all affect how quickly moisture is lost. A small pot exposed to afternoon sun can dry differently from a bed with deep soil and a layer of mulch. For guidance on checking whether irrigation is reaching the roots, see Probing Soil Moisture Depth Under Vegetable Drip Lines and Setting Drip System Run Times to Soak Root Zones Deeply.
A practical inspection routine can help you avoid both underwatering and overwatering:
- Check the soil around several plants, including one that looks healthy and one that looks stressed.
- Feel below the dry surface layer instead of judging by appearance alone.
- Compare moisture near an emitter with moisture farther from it.
- Look for standing water, runoff, or a persistently soggy area.
- Inspect emitters and lines when a plant seems dry despite the irrigation running.
- Recheck after changing the system rather than assuming the adjustment worked.
Watering near the base of plants can reduce waste compared with wetting bare ground far from the roots. It can also help keep foliage drier, which is useful when damp leaves and humid conditions create conditions for disease. Avoid treating any single watering method as suitable for every bed. Drip lines, hand watering, and other systems have different advantages, and the right choice depends on layout, soil, and how closely you can monitor the result. Watering Vegetables in Arizona: Irrigation Timing and Methods explains how to evaluate those choices.
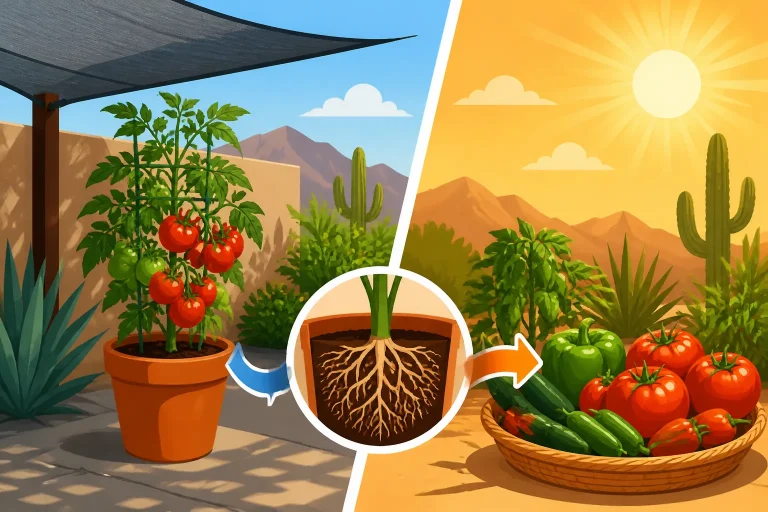
Containers deserve especially close attention. Their limited soil volume can warm and dry quickly, and a container may be exposed to heat from a patio or wall as well as direct sun. Check the root area rather than relying on the container’s appearance. If roots are exposed at the surface or the mix pulls away from the sides, the plant may need a change in placement or care. Avoid making a large watering change based only on a temporary midday droop; first confirm whether the growing mix is actually dry.
Mulch can slow moisture loss from the soil surface and reduce temperature swings around roots. Apply it so that it protects the soil without pressing directly against stems or covering the crown of a plant. Keep the layer and material appropriate for the bed, and check beneath it when assessing moisture. A surface can look dry while soil below the mulch is still moist. For more on choosing and using a cover for garden soil, see Garden Mulching Strategies for Conserving Soil Moisture in Arizona.
Use shade without trapping heat
Shade can reduce the intensity of direct sun on leaves and soil, but the aim is to ease the load on a plant, not to block all useful light or seal the bed away from airflow. A simple change in exposure can be more effective than adding a complicated structure. Before installing shade, identify which plants need protection and which parts of the day are causing the most stress.
Consider options such as:
- Moving portable containers to a spot with protection from the harshest sun.
- Placing taller, established plants so they provide light afternoon shade for a more sensitive crop.
- Using a temporary shade structure over the most stressed part of a bed.
- Moving a container away from a heat-reflecting wall or paved area.
- Choosing a future planting site with morning light and some protection later in the day.
Each option involves trade-offs. A dense barrier can limit air movement, make it harder to reach plants, or shade crops that need more light. An open-sided structure is often easier to inspect and ventilate than a fully enclosed cover. Also consider whether the shade falls on the whole bed or only on the intended plants as the sun moves.
Pay attention to the surface beneath the plant. A plant may receive some shade but still face intense heat from paving, rock, or a wall. Moving it farther from the heat source can sometimes help more than shading its upper leaves. Containers can benefit from a location change, while an in-ground plant may need a temporary screen or a different arrangement of neighboring plants.
Shade is not a substitute for checking water. A shaded plant can still dry out, especially in a small container or a windy location. Conversely, a plant under shade may use water differently from one in full sun. Recheck soil moisture after changing exposure and adjust irrigation based on what the root area needs.
If you use fabric or another covering, keep it secure and positioned so it does not rub against tender stems. Check that it does not block access for watering or inspection. Watch the plant after installation: if it stretches, stops growing, or remains stressed, reconsider the amount or placement of shade. Shade approaches differ by space and setup, so Shading Summer Garden Beds to Protect Desert Vegetables and Simple Shade Tricks for Patio Pots Without Heavy Frames can help with bed and container situations.
A west-facing patio or wall can be especially challenging because of the combination of later-day sun and reflected heat. Look for ways to reduce direct exposure without making the entire growing area dark. In a small space, a change in container position or a carefully placed screen may be easier to manage than building a permanent structure. Shielding a West-Facing Patio Garden in Summer Heat discusses those site-specific choices.
Protect beds, containers, and soil
The condition of the growing space influences how well plants cope with heat. Soil that is exposed, compacted, or poorly draining can create additional problems even when irrigation is available. Before adding amendments or changing a bed, identify what is happening: water may be running off, lingering at the surface, or leaving the root zone too quickly.
In an established bed, keep foot traffic away from the growing area where possible. Repeatedly walking or working on wet soil can contribute to compaction. If water does not soak in evenly, inspect the surface and drainage before assuming that more irrigation is the answer. Soil improvement is a gradual process, and the right approach depends on the soil and the crop. Getting Desert Soil Ready for a First Vegetable Garden and Improving Desert Garden Soils: Amendments, Salts, and Organic Matter cover the decisions involved in preparing and maintaining Arizona beds.
Mulch can help buffer the soil surface, but it needs basic maintenance. Pull it aside when checking moisture or looking for pests, then return it without burying stems. Refresh areas where the soil has become exposed, while keeping the material from forming a dense, wet mat. If the bed has a drainage problem, mulch alone will not fix it.
Raised beds and containers also need attention to their sides and surroundings. Dark or thin-walled containers in direct sun can become hot, while a container placed on a sunlit hard surface may receive heat from below and around it. Consider moving pots, grouping them to reduce exposure, or shielding the side that receives the harshest sun. Any change should leave room for airflow and make watering and plant inspection manageable.
Avoid making major soil changes in the middle of a heat crisis unless there is a clear reason. Disturbing roots or adding an unsuitable material can add stress. If a bed is still planted, concentrate first on correcting immediate issues such as a blocked emitter, exposed roots, or severe runoff. Save larger renovation work for a time when plants and soil can recover more comfortably.
A summer cleanup can also prevent small problems from becoming harder to manage. Remove dead or badly damaged material when it is appropriate to do so, keep paths accessible, and check for weeds competing with crops for water and space. For weeds around edible plants, use methods suited to the site and avoid applying any product in a way that could contact crops or soil contrary to its label. Product labels are the legal instructions for use.
Watch plants and adjust care as conditions change
Summer care works best as a cycle of observation, a targeted change, and another check. A single symptom rarely gives a complete diagnosis. Wilt, leaf scorch, yellowing, and poor growth can result from more than one cause, so look at the plant, soil, irrigation, and surroundings together.
When you see a problem, work through a simple check:
- Look at the pattern: Is the damage limited to the side facing the sun, or is it spread across the plant?
- Check the soil: Is moisture available where the active roots are?
- Inspect irrigation: Are emitters working and positioned to wet the root zone?
- Consider recent changes: Has the plant been moved, pruned, transplanted, or exposed to a new heat source?
- Look for other signs: Check leaf undersides, stems, and new growth for insects, webbing, spots, or other clues.
- Change one thing at a time: If practical, make a focused adjustment and watch the response before making several more.
Plants can show lasting marks from earlier heat even after conditions improve. A damaged leaf may not regain its former appearance. Instead, look at new growth and the plant’s overall condition. If new leaves appear healthier and the plant is no longer declining, the adjustment may be helping. If damage continues to spread, reassess the cause rather than repeatedly increasing water or adding treatments.
Avoid removing all foliage from a stressed plant simply because some leaves are scorched. Leaves still contribute to plant growth, and unnecessary pruning can expose previously shaded stems or fruit. Remove material when it is dead, diseased, or creating a specific problem, and keep cuts and handling appropriate to the plant. If disease is suspected, avoid moving affected material around the garden.
When pests are present, identify the problem before choosing a control. Heat damage and insect damage can overlap in appearance, and unnecessary treatment can add risk without addressing the cause. Follow product labels for any pesticide or other garden product, and seek help from a qualified local source if symptoms are unfamiliar or spreading. Diagnosing Plant Health Issues in Arizona: Heat, Bugs, and Fungus and Troubleshooting Tomato Pests and Diseases in Arizona offer additional ways to distinguish common causes.
Keep a short garden record if repeated problems are hard to diagnose. Note where a plant is growing, when symptoms appear, how the soil feels below the surface, and what changed in response to shade or irrigation adjustments. The record need not be elaborate. It can help reveal patterns such as a particular bed drying faster, a wall reflecting heat, or a crop declining as the season advances.
Plan the transition to the next planting window
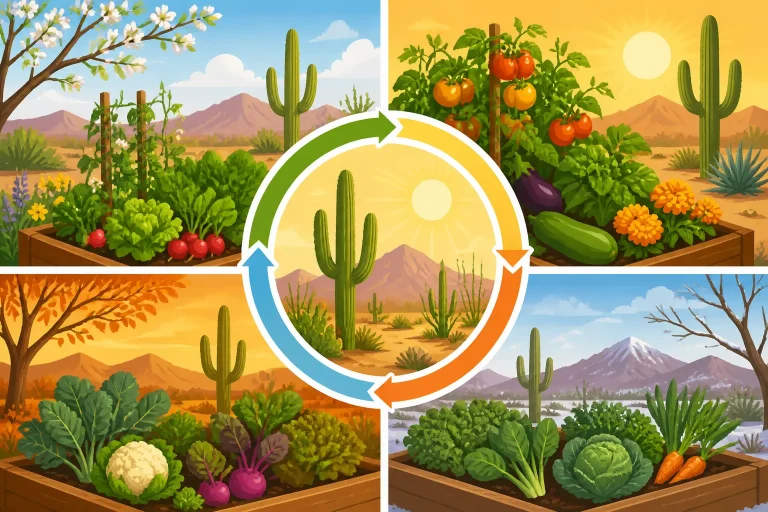
Peak summer is also a planning period. Rather than trying to make every crop produce through the harshest conditions, use the quieter time to prepare for a more suitable planting opportunity. That can mean removing spent plants, checking bed drainage, repairing irrigation, planning shade, or choosing crops that match the next season and your location.
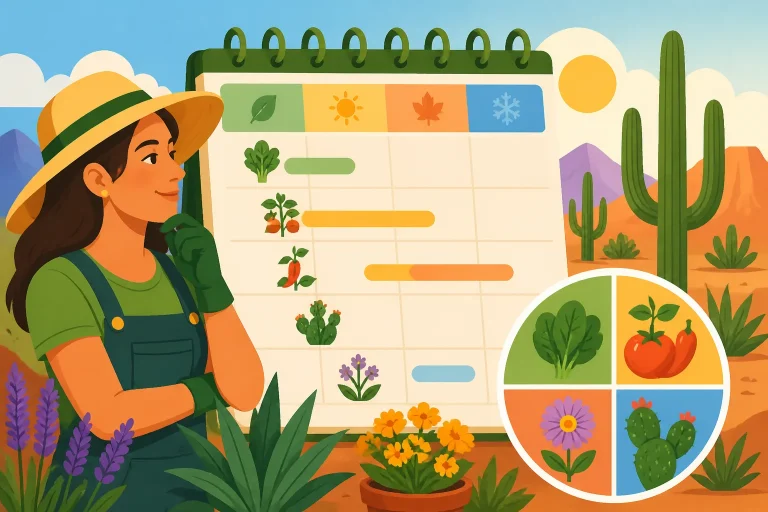
Do not use a single statewide date as the deciding factor. Arizona’s elevation and local conditions influence when planting is appropriate, and the right window for a low-desert garden can differ from that for a mountain garden. Use a regional planting calendar, then compare it with current soil and weather conditions. Low-Desert Planting Calendar: Two Main Growing Seasons can help low-desert gardeners think about seasonal transitions, while High-Country Vegetable Planting Dates for Northern Arizona is more relevant to northern high-country gardens.
Before sowing or transplanting, consider whether the soil is suitable for the crop and whether you can give young plants consistent attention during establishment. A seedling that starts in a poor location may struggle even if the calendar is otherwise favorable. Choose a spot with appropriate sun and drainage, prepare the bed without burying existing plant crowns, and make sure irrigation reaches the new planting.
If the garden is open, protect bare soil rather than leaving it exposed. A suitable mulch can help reduce surface drying and limit weed establishment while the bed waits. Keep the cover loose enough to inspect the soil and avoid putting it over seed rows unless the crop’s sowing needs allow for it. When you are ready to plant, prepare the surface as needed and follow the crop’s sowing instructions.
Match the next planting to the space you can care for. A smaller planting with dependable access to water and suitable light may be more productive than filling every available bed. Consider succession sowing only when conditions and the crop’s growth needs make it practical; planting more than you can maintain can turn a manageable garden into a source of avoidable stress. For guidance on selecting quick-finishing crops and planning around a seasonal cutoff, see Selecting Fast-Maturing Crops for Arizona’s Split Seasons and How Growing Season Length Determines Your Fall Planting Cutoff.
Keep realistic expectations about recovery. A crop that has lost much of its foliage or stopped producing may not rebound simply because the weather becomes less severe. A new planting may be a better use of the space. On the other hand, a healthy plant that has slowed down may resume growth when conditions improve. Assess the plant’s condition, its role in the garden, and the effort needed to maintain it before deciding.
Frequently Asked Questions
Should I water a vegetable garden whenever plants wilt?
Not automatically. Check moisture near the roots first. Temporary drooping during hot conditions can have more than one cause, and adding water to already wet soil may not help.
Is shade enough to keep summer crops growing?
Shade can reduce exposure to harsh sun, but it does not correct dry soil, poor drainage, pests, or unsuitable seasonal conditions. Check the plant’s response and maintain airflow.
Should I keep a crop that has stopped producing?
It depends on the plant’s health and purpose. If it is declining, taking up space, or contributing to pest problems, clearing it may be sensible. A healthy plant that has only slowed down may be worth maintaining.
Can I plant vegetables during Arizona summer?
Some crops can be grown outside their usual season when conditions are adjusted, but success depends on the crop, location, and care you can provide. Use a planting calendar suited to your area and confirm that the site and soil are appropriate.
Sources
- University of Arizona Cooperative Extension — Vegetable Planting Calendar for Maricopa County | UA Cooperative Extension (checked November 15, 2026)
Disclaimer
This article is for general informational purposes only and does not constitute professional advice. Laws, prices and regulations vary by location and change over time. Consult a qualified professional for guidance on your specific situation. Arizona Gardening Guide is not a government agency and is not affiliated with any university extension, state department of agriculture or other government agency.